How to create a project workflow and save it to use again.
Jan 10, 2021
Basic or Free users: You can build your own workflow or change one, but can’t save it and use it again.
Create your own workflow:
To create your own project workflow, go to the projects page and click “ New project” and choose “ start from scratch”.
Start by defining your goal and evaluating the number of phases (or milestones) and the amount of work sessions, tasks, and meetings you will need to successfully reach your project goal.
Example:
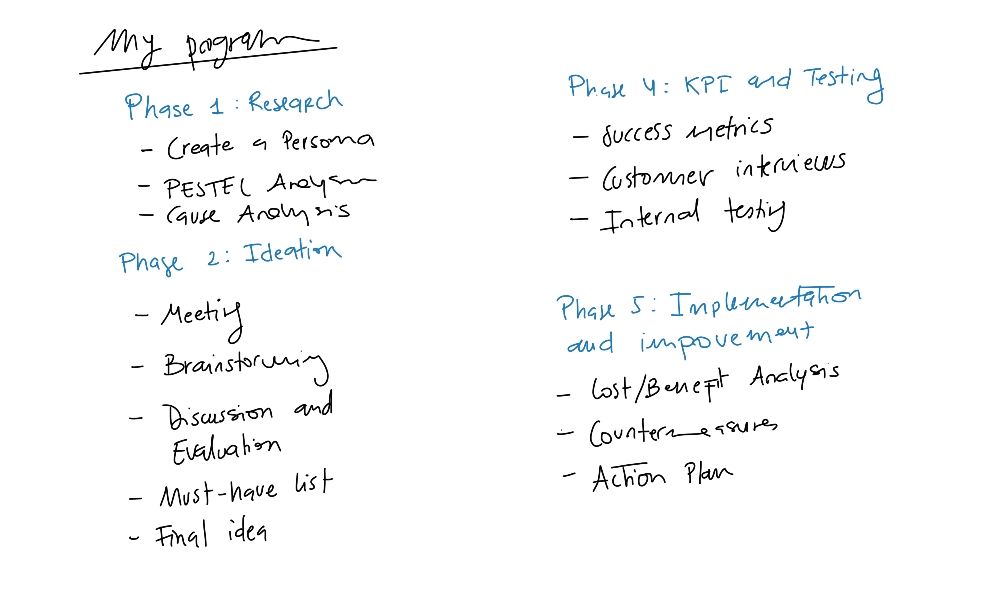
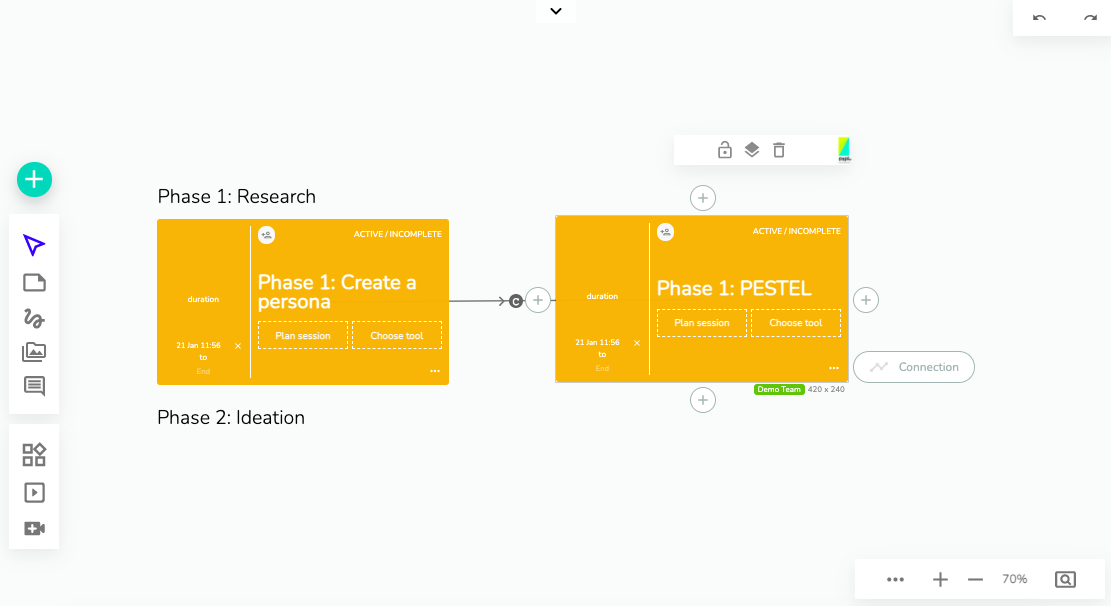
Planning and defining your workflow is often where you will spend more time. Once you have a good plan you can 1)start by adding a sticky note to define each phase and 2) adding all the work sessions, whiteboards, and tasks beside that phase.
You can choose the tool or develop the process later.
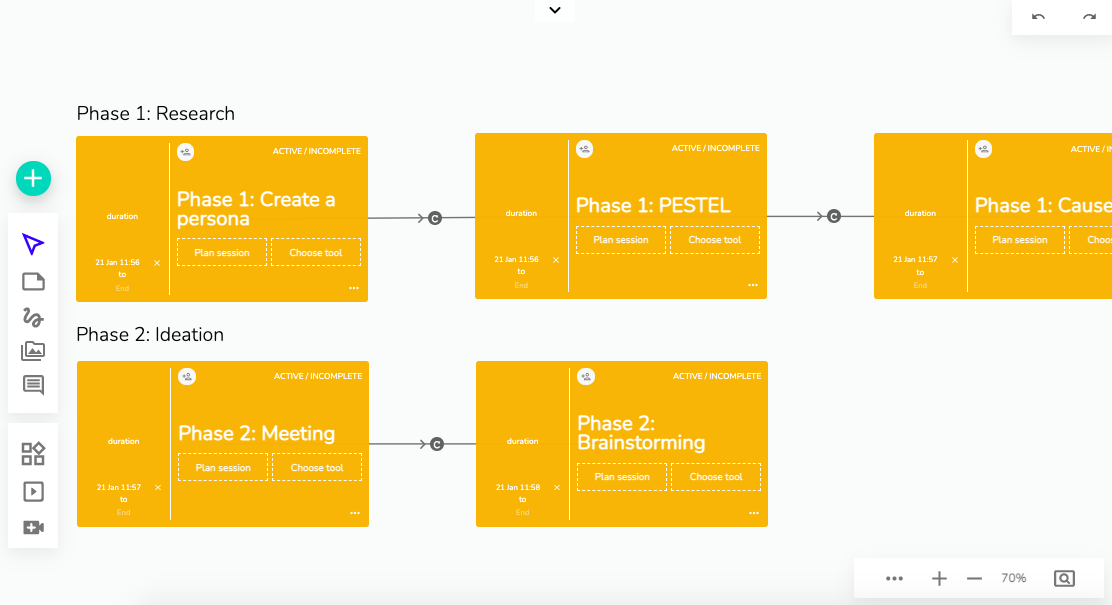
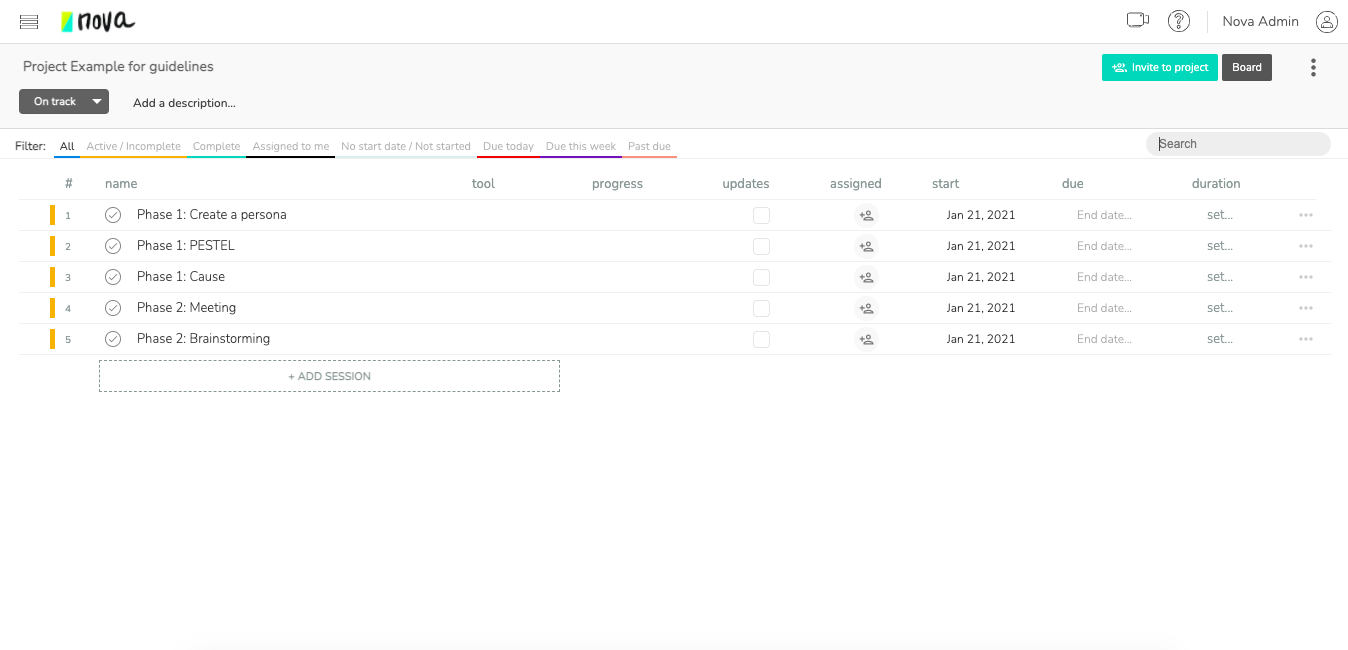
You don’t feel comfortable using the project board view?
Use the list view and start planning your workflow by adding sessions. You can define the process or choose a tool later.
What can I use to build my custom workflow?
- Add a Work Session: Click the “+” icon at the top of the left-hand toolbar to add a new work session to the board or your project list.
- Define the process: Choose a tool (you can find your saved tools here or choose tools created by Nova) or create your own step by step process.
- Prepare the work session by adding a start date and deadline, reading the “how to use this tool instructions, describing the session goals, providing instructions for all participants, and by adding a list of resources (if required).
- Add Text: Use the “add note” function to create a sticky note. For text without a sticky note, select the transparent sticky note.
- Add Task: Use the “Add note” function, and press the “add task” option that appears adjacent to it. Change the dates, priority, status, and assigned team members for the task.
- Add Timer: Use the “Add note” function, and press the “add timer” option that appears adjacent to it.
- Draw: Use the “draw” button to draw freely for quick illustrations, arrows to provide direction or connectivity, or use handwriting.
- Connect notes, tasks, and sessions: Press the “connection” button directly to the right of a selected note to link it to another note or session.
- Connect your sessions and add dependencies: Press the “+” button on any side of a selected session to link it in series to a new session. Select the type of connection you want and add dependencies to automate your workflow.
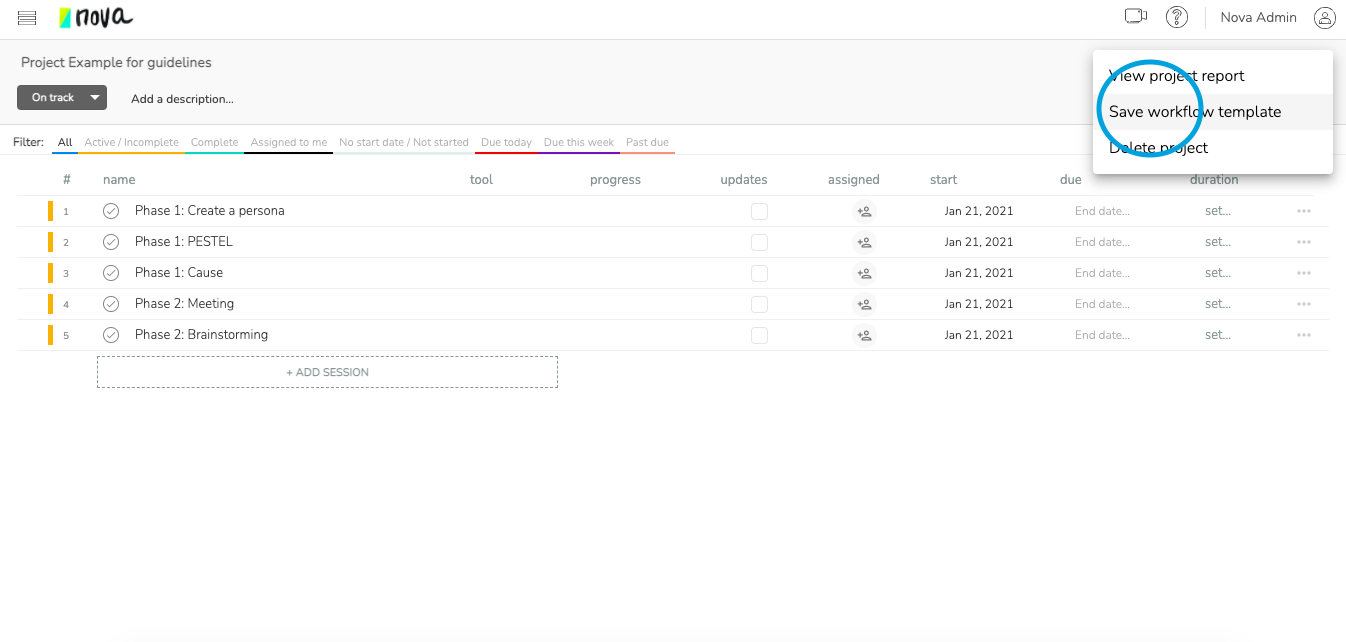
Save your workflow: Use your workflow again by saving your workflow as a template. This function is only available for pro users.
